今回はViewクラスを拡張し、Javaのクラスを使って、ランダムな位置に図形を描画します。
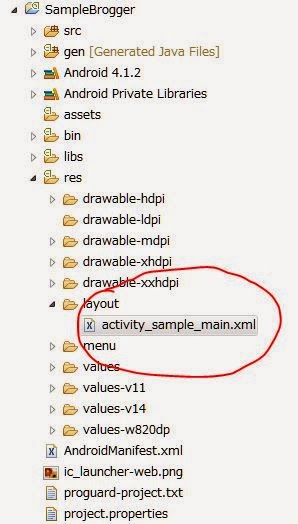
まずは、プロジェクトの作成を行ってください。
[簡単Androidアプリ] プロジェクトの作成からHello Worldテキストの出力まで
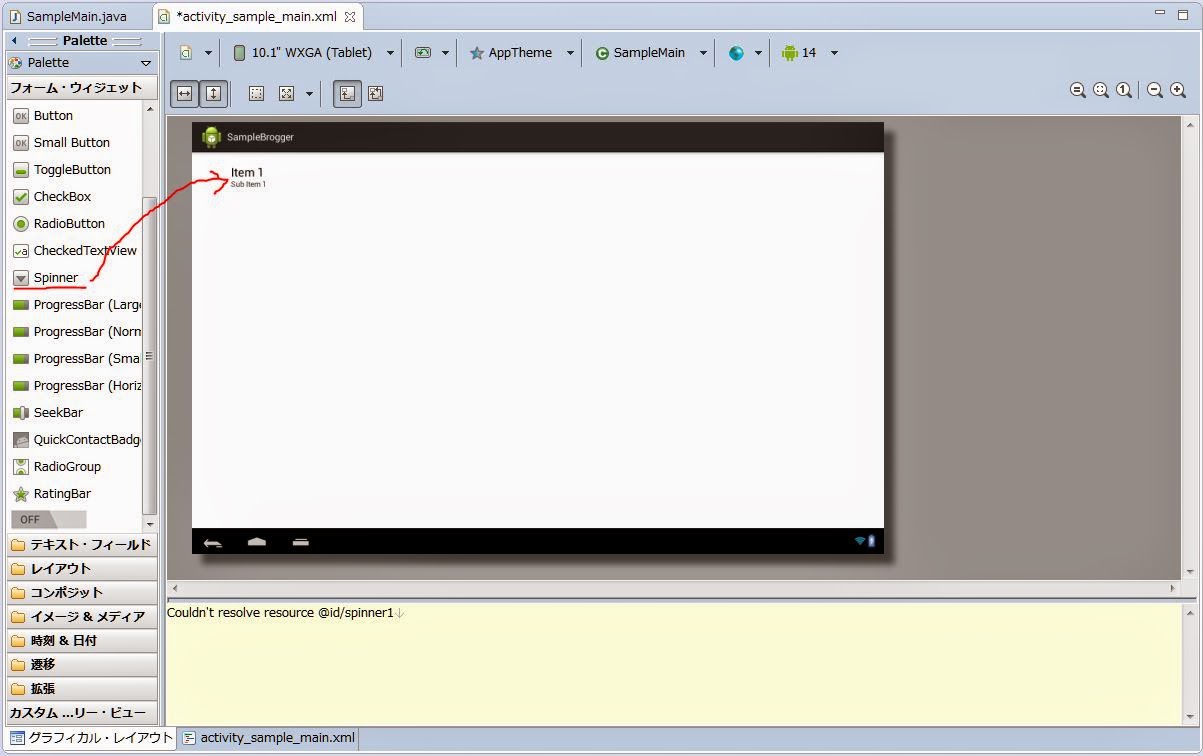
今回はレイアウトの設定は行わないので早速プログラムから見ていきます。
Coding
コードを入力していきます。
SampleMain.java
package com.sample.brogger;

import java.util.ArrayList;
import java.util.Random;

import android.annotation.SuppressLint;
import android.app.Activity;
import android.content.Context;
import android.graphics.Canvas;
import android.graphics.Color;
import android.graphics.Paint;
import android.os.Bundle;
import android.view.View;
import android.widget.LinearLayout;

public class SampleMain extends Activity {

    /** 描画する図形の数 **/
    static final int num = 600;

    /** Viewクラスを拡張した、DrawViewクラスのオブジェクトの宣言 **/
    DrawView dView;

    @Override
    protected void onCreate(Bundle savedInstanceState) {
        super.onCreate(savedInstanceState);

        // レイアウトの設定
        LinearLayout ll = new LinearLayout(this);
        // レイアウトの指定
        setContentView(ll);

        // Viewクラスを拡張した、DrawViewクラスのオブジェクトの作成
        dView = new DrawView(this);

        ll.addView(dView);
    }

    /** Viewクラスを拡張した、DrawViewクラス **/
    class DrawView extends View
    {
        /** 描画する図形を格納するリスト **/
        ArrayList<SampleShape> shList;

        /** DrawViewクラスが作成された際に最初に実行されるメソッド(コンストラクタ) **/
        public DrawView(Context context) {
            super(context);

            // 図形リストの作成
            shList = new ArrayList<SampleShape>();

            // 乱数の作成
            Random rn = new Random();

            for(int cnt=0; cnt<num; cnt++)
            {
                //描画する図形のオブジェクト
                SampleShape sh = new SampleShape();

                // ランダムな位置を取得
                sh.x = rn.nextInt(1500);
                sh.y = rn.nextInt(1000);

                // ランダムな色を取得
                sh.r = rn.nextInt(256);
                sh.g = rn.nextInt(256);
                sh.b = rn.nextInt(256);

                // リストに図形を追加
                shList.add(sh);
            }
        }

        /** 描画が行われるときに呼び出されるメソッド **/
        @SuppressLint("DrawAllocation")
        protected void onDraw(Canvas cs)
        {
            super.onDraw(cs);

            // ペイントオブジェクトの作成
            Paint p = new Paint();

            for(int cnt=0; cnt<num; cnt++)
            {
                // 図形リストから図形を取り出す
                SampleShape sh = shList.get(cnt);

                // 色の設定
                p.setColor(Color.rgb(sh.r, sh.g, sh.b));

                // 塗りつぶしの設定
                p.setStyle(Paint.Style.FILL);

                // 図形を描画(円)
                cs.drawCircle(sh.x, sh.y, 10, p);
            }
        }
    }
}

/** 図形の各パラメータを定義するクラス **/
class SampleShape
{
    public int x,y,r,g,b;
}


![[VuforiaでARアプリ] 「Video Playback Sample」 に動画を追加 [Androidアプリ]](https://blogger.googleusercontent.com/img/b/R29vZ2xl/AVvXsEhRBoFu-6ZnxKIGuaQWQFgu_d5n9XUS6gP67U3xHQZJuEUjMuwhNZMCYyGH4dIoX6aoMqcauczn7pPfMxS1P0i6qB3dsC5DX1dO3lqN6nv2TdaXSkOgrYQunZvAzAPVSX9kAXTAQV7KqzWt/s72-c/VideoPlaybackSample.png)
![[簡単Androidアプリ] リストビュー(ListView)に日付を表示してみよう!!「ArrayAdapterクラスの拡張」](https://blogger.googleusercontent.com/img/b/R29vZ2xl/AVvXsEjuekxjx_TEp05uC8TB03n3_vy7OsLqG55u-J2OqufG-vYmuTH9whlHEwsFO3aEZy_NlOkVJkCrD4lMU6zEUbu73XY4stFxEqw0W0MG2jJX-2cuLKtp-_ALHfTCzUErBezBaXAbpdTkcNUO/s72-c/android.jpg)
![[簡単Androidアプリ] チェックボックス(CheckBox)をつかってみよう!!](https://blogger.googleusercontent.com/img/b/R29vZ2xl/AVvXsEjwgRajUv5KuRWHd3gdB4BBfMRv4ONvTPAi5fCjbM5mHO63WRO2v0wVN1kOgF1-eC-M3NXt_1kk8bxMjt02FLyeEugBXxDJKRGgU8F1rZQnLlrViLxzod36NagqeVYppwhyOQxtnsWb2Vx7/s72-c/android.jpg)
0 コメント: